With the help of virtualization, it is now possible to run Windows 11 on a Mac smoothly without installing it directly on your system. In this guide, I’ll walk you through the entire process step by step and show you How to Run Windows 11 on a Mac for Free side by side seamlessly. Using simple trackpad gestures, you can swipe with four fingers to switch between macOS and Windows 11. One swipe shows your Mac desktop, and another brings up the Windows virtual machine. The experience feels surprisingly natural.
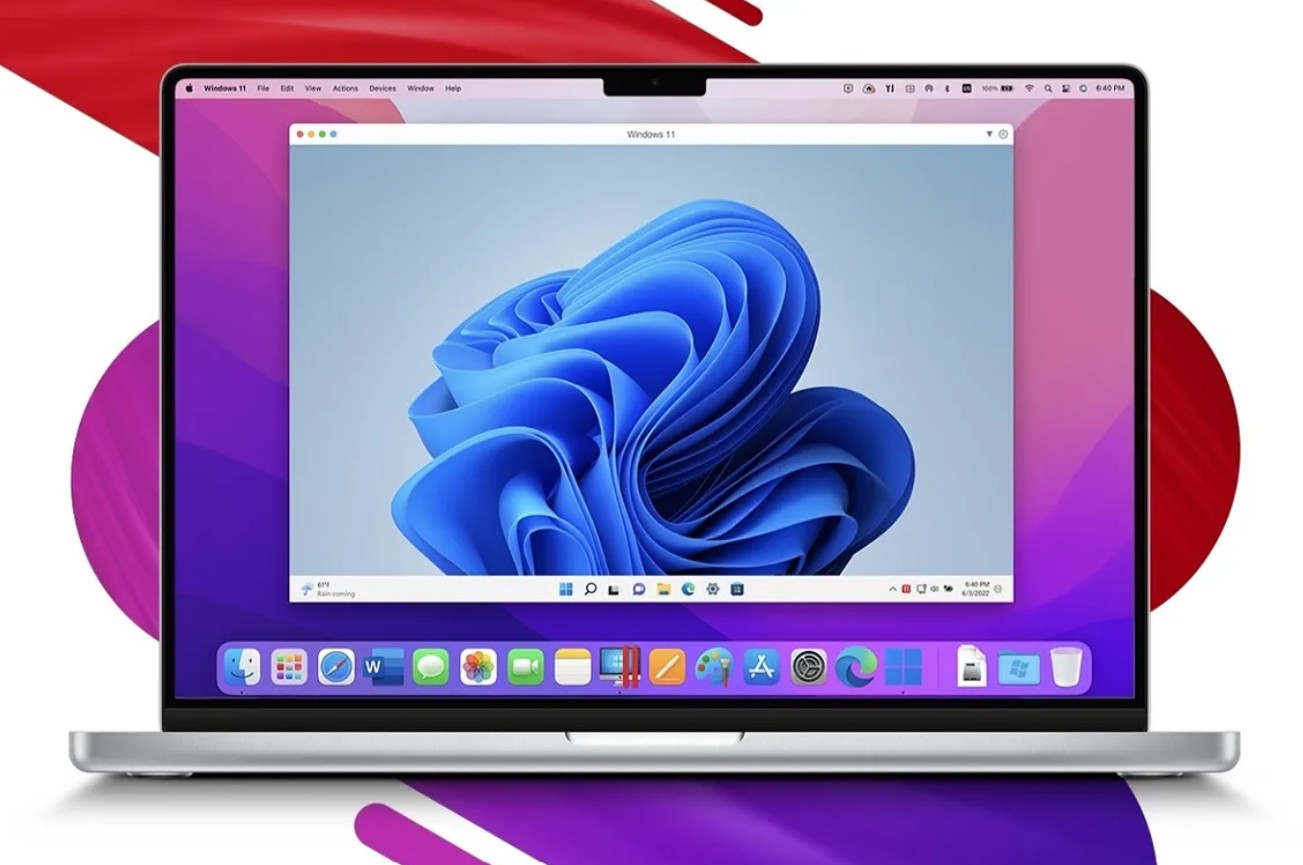
How to Run Windows 11 on a Mac for Free Using Virtualization
Before starting, let’s quickly look at storage usage. In my case, I had around 128 GB of free storage, which is more than enough. At the end of this guide, we’ll also check how much space Windows 11 actually consumes.
Step 1: Download and Install UTM
First, open your browser and search for UTM.
UTM is a lightweight hypervisor that allows you to run operating systems like Windows on macOS using virtualization. Download UTM and install it. Once installed, open the app. The interface is clean and simple, with options such as:
-
Create New Virtual Machine
-
Browse UTM Gallery
Step 2: Download Windows 11 Using CrystalFetch
To install Windows 11, you’ll need the official installation file (ISO).
For this:
-
Open the Mac App Store
-
Search for CrystalFetch
-
Download and open it
CrystalFetch makes it easy to download Windows ISO files. From the app, select Windows 11 and download the version that matches your Mac’s architecture (ARM for Apple Silicon).
Step 3: Create the Windows 11 Virtual Machine
Now go back to UTM and click Create New Virtual Machine.
You’ll see two options:
-
Virtualize
-
Emulate
Since Apple Silicon Macs use ARM architecture, choose Virtualize for better performance. Emulation can be used for x86 versions, but it runs slower, Then:
-
Select Windows Locate and select the Windows 11 ISO file you downloaded using CrystalFetch
-
Make sure to check “Install Drivers and SPICE Tools”
This step is very important, it ensures proper graphics, mouse, and performance support inside Windows.
Step 4: Allocate Resources (RAM, CPU, Storage)
-
RAM:
If your Mac has 8 GB RAM, assign 4 GB to Windows.
If you have 16 GB, you can assign 6–8 GB.
In this setup, 4 GB works perfectly fine. -
CPU Cores:
Leave this on default. -
Storage:
Set the virtual disk size to 64 GB. You can increase this later if needed, depending on your available Mac storage.
Step 5: Enable File Sharing Between Mac and Windows
UTM allows shared folders between macOS and Windows. For example:
-
Create a folder on your Mac desktop named “Windows11_Shared”
-
Select this folder as the shared directory in UTM
Any file you place in this folder will appear inside Windows, and files downloaded in Windows can be accessed on your Mac instantly.
Step 6: Install Windows 11
Once everything is set:
-
Save the virtual machine
-
Click Start
-
Press any key when prompted to boot
The Windows 11 installer will start just like on a normal PC.
When asked for a product key:
-
Click “I don’t have a product key” and If you want to get it, Please visit ODosta Store.
-
Continue with the installation
Select the 64 GB drive you created earlier and proceed. Windows will install and reboot automatically.
Important Fix: Boot Loop Issue
Sometimes after installation, Windows may restart and show the installer again.
If this happens:
-
Quit UTM
-
Clear the ISO file from the boot settings
-
Restart the virtual machine
Windows 11 will now boot correctly.
Step 7: First Boot and Driver Setup
After logging in, Windows may look slightly blurry or the mouse might not work properly at first. To fix this:
-
Allow the system to reboot once more so all drivers install correctly
-
When prompted to capture mouse input, click OK and select “Don’t show again”
-
To release the mouse, press Control + Option together on your keyboard
After rebooting, you’ll notice:
-
Sharper text
-
Better display scaling
-
Smooth mouse and keyboard performance
Running Apps on Windows 11
Windows 11 runs very smoothly inside UTM.
You can install and use apps like:
-
Google Chrome
-
Zoom
-
Discord
-
Microsoft Office
-
Other everyday software
Zoom, for example, works perfectly, you can sign in, join meetings, and use it just like on a real Windows PC.
File Sharing Demo
To test file sharing:
-
Drop a file (for example, a PNG image) into the shared folder on your Mac
-
Open File Explorer in Windows
-
Navigate to the Network Drive
You’ll see the file instantly and can open or edit it inside Windows.
Storage Usage
After installation, the Windows 11 virtual machine consumes approximately 26 GB of storage, which is very reasonable considering it’s a full operating system.
Final Thoughts
Running Windows 11 on a Mac for free using UTM is:
-
Easy to set up
-
Stable and smooth
-
Perfect for work, testing, or running Windows-only apps
If you want the flexibility of both macOS and Windows without dual-booting or expensive software, this method is highly recommended.